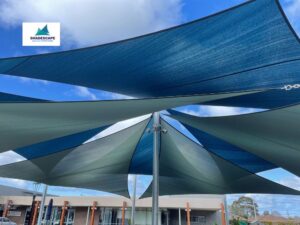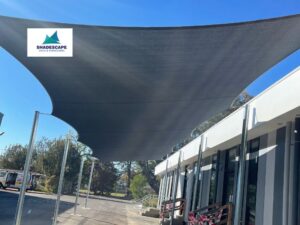
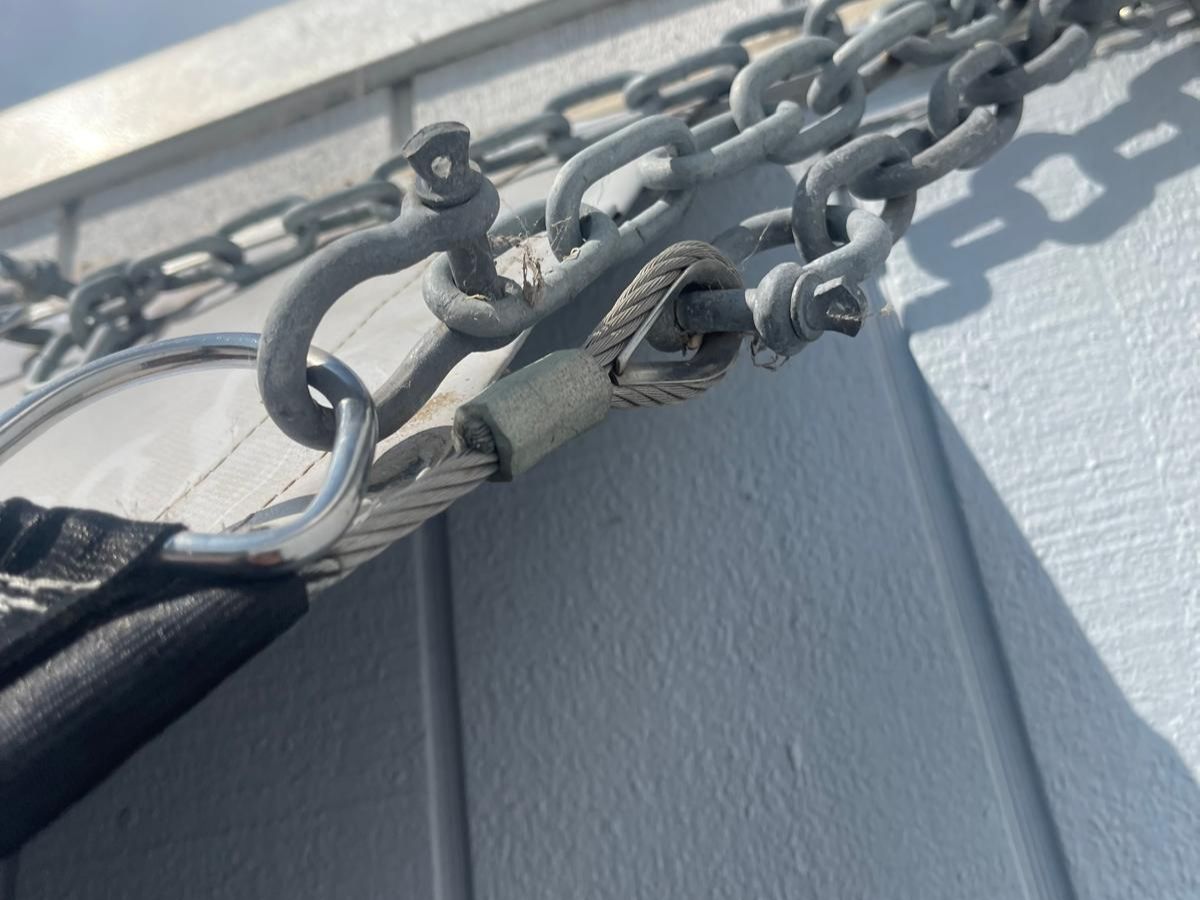
If you’ve been searching for shade sail installation in Melbourne, you’ve probably come across this shortcut a hundred times: clip a corner of the sail straight onto the roof fascia and call it done. It’s quick, it looks tidy from the ground, and honestly, it’s tempting — why dig a hole and pour concrete when there’s already a nice straight edge sitting right there under your gutter line?
Here’s the problem. We get called out across Melbourne more often than you’d think to deal with the aftermath of exactly this shortcut. Torn fascia, bent guttering, sails that ripped clean off mid-storm. It’s one of the most common mistakes we see, and it’s also one of the most avoidable — so let’s talk about why it happens, what it actually costs you, and how to anchor a shade sail the way it should be done from day one.
Your Fascia Was Never Built for This Job
Think about what a fascia board is actually there for. It closes off the end of your rafters, gives your gutter something to sit on, and maybe takes the occasional bit of weight when a tradie’s up there clearing leaves. That’s it. It was never designed to be a structural anchor point for anything, let alone something that behaves like a sail on a boat.
And that’s really the crux of it — a tensioned shade sail is a sail. It catches wind the same way a yacht’s sail does, and in a decent gust, the pull on a single corner can jump from a few kilos to well over 100kg almost instantly. Your fascia, usually a strip of thin timber or lightweight aluminium, was simply never in the conversation when that kind of force was being planned for.
What We Actually See on Callouts
This isn’t a theoretical risk we’re flagging to sound cautious. It’s a pattern. Here’s what typically goes wrong when a sail is clipped to fascia:
- The fascia rips away from the rafters, and more often than not it takes a section of guttering with it
- Water starts getting in behind the broken seal, which over months turns into rot and, eventually, real structural timber damage you can’t see until it’s bad
- The sail itself gives out at the fixing point — the eyelet tears, the webbing stretches and fails, sometimes the whole corner just lets go
- Insurance gets complicated, because most home policies won’t cover damage from a DIY structural fixing that wasn’t installed to code
Add it up and the repair bill — fascia replacement, new guttering, water damage remediation, plus a proper reinstall — almost always comes in well above what a correctly anchored installation would’ve cost in the first place. It’s a classic case of the cheap option being the expensive one.
Melbourne’s Weather Doesn’t Do You Any Favours Here
If you’re anywhere else in the country with genuinely mild, predictable wind, maybe fascia mounting gets away with it more often (still not recommending it). However, Melbourne sits across several distinct wind classification zones under AS/NZS 1170.2, and many suburbs — especially those that are elevated, exposed, or close to open terrain — experience gust speeds that a standard fascia fixing was never engineered to withstand.
The frustrating part is the timing. A sail that’s sat there fine all autumn can fail the moment a summer storm front rolls through, which is exactly the week you’re relying on it most to keep the backyard usable.
So How Do You Anchor It Properly?
The short version: you need to get the load off the fascia and onto something actually engineered to carry it. There are a few ways to do that properly, and which one fits depends on your site.
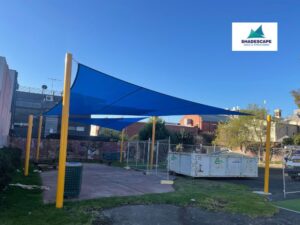
The most reliable option is a set of engineered posts with proper concrete footings — galvanised and sized specifically for your sail’s dimensions, mounting height, and local wind zone. If you’re weighing up whether posts or a different fixing method suits your space, it’s worth reading through the different types of permanent shade structures we install, since the right approach really does come down to what’s already on your property and how exposed the site is.
Sometimes a wall connection makes sense instead of posts, but only if it’s a genuine load-bearing masonry wall or reinforced bond beam, never a brick veneer, and definitely never fascia or lightweight cladding. A certified fixing plate distributes the load across multiple structural points rather than concentrating it on one soft edge.
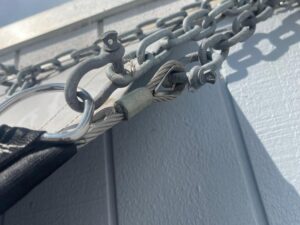
Whichever fixing method you go with, the hardware matters just as much as the anchor point itself. Turnbuckles, stainless steel wire rope, and rated shackles all need to be sized to the actual load your sail is expected to generate, not whatever happened to be sitting on the shelf at the hardware store.
And none of this should be guessed at. Every property’s different soil type changes footing requirements, existing structures vary in condition, and sail size changes the whole load calculation. Proper anchoring is a decision made after actually looking at your site, not a fixed formula you can apply blind.
Do You Need Council Approval?
This catches a lot of people out. Depending on the size, height, and permanence of the structure, some Melbourne councils require a permit, particularly for larger sails or anything attached to permanent posts. It’s genuinely worth a quick check with your local council before you start digging, or better yet, working with an installer who folds that check into the process so you’re not the one chasing it down after the fact.
Where ShadeScape Comes In
We’ve been doing this across Melbourne for over a decade now, as registered commercial builders, and the fixing point is honestly where most of the thinking goes into every job — not the sail itself. We look at your actual structure, your wind exposure, your soil, and engineer the anchor points around that rather than defaulting to whatever edge is closest.
If your current sail is fixed to fascia and you’re not sure it’ll survive the next storm season, or you’re planning a new installation and want it anchored properly from the start, get in touch for a free measure and quote on shade sail installation in Melbourne.